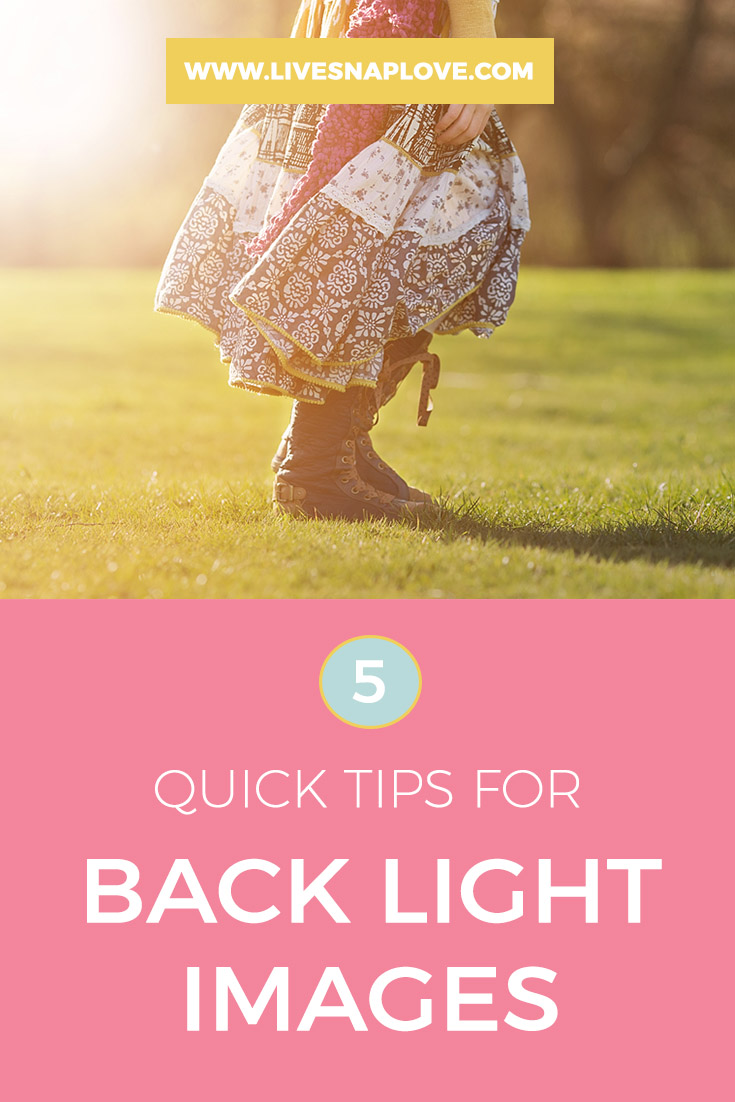
5 Quick Tips for a Shooting a Back Lit Image
Backlighting can be a wonderful choice for lighting an image - from a warm buttery backlight to a blown out window, there are so many different options for shooting into the light!
However, shooting into the light you does present some challenges though, so it's important to set your camera correctly. Here's are five super quick tips that will help you get gorgeous back lit images in no time!
1) Shoot in Manual.
It's near on impossible to get a well-exposed image using backlight if you are still on AUTO - you will probably find that your subject will be underexposed and your background perfectly lit!
Shooting in manual is the best way to ensure that you can get your subject exposed correctly. If you don't know how to shoot in it yet, you could use one of the semi-automatic modes such as AV mode, and use exposure compensation, but honestly, switching to manual mode will give you MUCH better results.
You can make a start in switching to manual mode today by downloading my totally free, highly actionable Manual Mode Cheat Sheet! Go here to grab it.
2) Manually set your White Balance.
Backlight can throw off your camera's AUTO feature, so if you can, try to set a custom white balance. It will save you a ton of time and headaches in processing trying to get skin tones right, which can go horrendously wrong in backlight! Some ways to set your white balance can be found here, including the one I use, the Expodisc. It's much easier to start with a correct white balance, and then add warmth to get more of a golden back-lit "glow" if required using Photoshop or Lightroom.
3) Spot Meter for your subject.
This tells the camera to expose for the subject and not to worry about anything else. You may very well blow out areas of your image (sometimes I want to - particularly if shooting at windows!) but some blown highlights doesn't bother me at all, as long as my subject is correctly exposed, and they are not too distracting.
So, set your metering mode to spot, and hover your metering point (always the centre point for Canon, and the active focal point for Nikons) over your subject.
(If you are not sure what settings to use - make sure you download the cheat sheet to help you)
4) Use a Lens Hood
All that light bouncing straight into your camera can cause a lack of contrast - and contrast is exactly what your camera needs in order to lock focus. Using a lens hood will help cut down on the haze and help the camera lock on. If you prefer to keep in the flare, then you can always briefly shield your lens from the sun with your hand, lock focus, then remove your hand.


