
5 Ways to Add Punch in Post-Processing
If you shoot in RAW, then you will nearly always want to give your images a little extra "punch" in processing, since these can tend to look a little flat straight out of camera. Pretty much every image will benefit from a little bit of love and tenderness in processing!
In this post I'm going to show you just five ways to add extra bounce to your photos, but of course you can do a lot more! This is why I also have a free Lightroom Editing Checklist so you can walk through what you should be doing when. You'll get it inside my Lightroom Starter Kit, where you will also get some more free goodies, such as an import guide, an export cheat sheet AND three Lightroom presets! Go here to grab it.
1) Increase Vibrancy or Saturation
Both of these punch up the colors in your images, and a little can go a long way! If there are people in your images, opt to use vibrancy over saturation - this keeps the oranges and reds in check so that you don't get weird glowing skin.
For landscapes or macro - or any images where you want the colours increased in all areas of you image - you can use the saturation tool and even go a little overboard if you don't have skin tones to worry about.
For any images where you have areas or subjects in your image that you don't want too much saturation applied to, choose vibrance, as this does a much better job of balancing out the colours to add punch to.
Please also make sure that before you do this you have the correct white balance - the image below needed warming up before adding saturation - check that your image isn't looking "muddy" because it's actually too cool (a common culprit!)


2) Add Contrast & Clarity
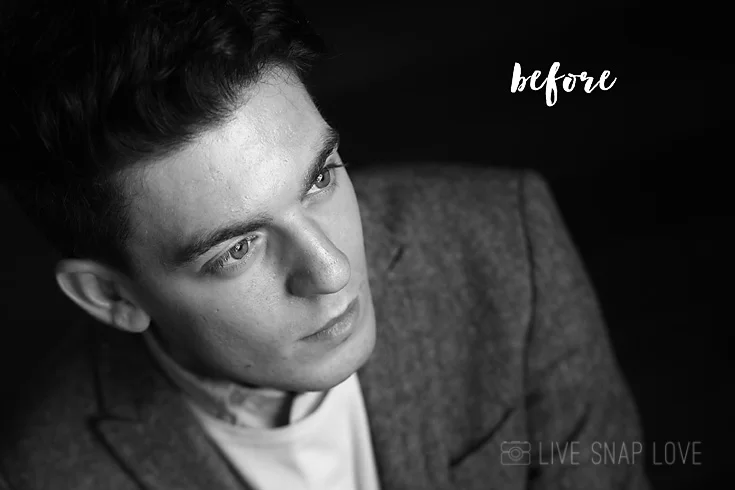
Contrast simply makes your darks darker and your lights lighter. Making sure your image has good contrast will help give your image punch and is particularly good on black and white images. The amount of contrast to apply is personal taste, and depends on each individual photo, so there is no "rule" about how much you should add.
You can simply use the contrast slider in the Lightroom basic panel to add contrast, but I prefer to use the curve tool in Lightroom, which gives you a bit more control over the lights and darks in your image.
A subtle S-Curve like the one below can have a big impact. All you need to do is open up the tone curve, and you will see the graph below but with a straight line. Create an S curve like one below by creating two anchor points, and moving the top one up slightly, and the bottom one down slightly, creating a "s" shape, like so:

Adjust these points to taste: even bringing the points to just above and below the diagonal line will give you some nice contrast.
Finally, the clarity tool in Lightroom also adds a little mid-tone contrast, and is very useful for bringing out the textures and details in your images. However, beware of greying skin if you pull it too far!
3) Dodge & Burn
You can also gently darken some areas and lighten others to help subtly mould your image and pull the viewers eye the way you want to. Generally speaking, use these to darken areas that you want the eye drawn away from, and and lighten areas of interest.
For example, you could use this to subtly mould a person's face with light and shadow. Easy does it though!
Simply use the adjustment brush in Lightroom to "paint" on the light and dark areas.

4) Cloning & Healing
Cloning or patching out distractions can make sure that the viewers eye are drawn to your intended point of focus, making sure that it is only your subject that grabs attention, and not that pole behind them :)
With Lightroom you can simply remove unwanted elements by using the spot removal tool. Generally speaking, I use heal rather than clone, but you can use either of the options - sometimes one works better than the other.


- Noise & Luminance Sliders
If you have noise in your image and you are finding it distracting, then play with the sharpening and luminance sliders to remove unwanted grain, and regain clarity.
Under the detail tab, you will see a section for noise reduction. If you pull the luminance slider to the right, it will reduce the noise in your image. Easy does it though - it will smooth out ALL your image, not just the noise. (If you find noise to be a regular problem, then check out this tutorial on reducing noise in camera)
If you are shooting RAW then a moderate amount of sharpening should also be applied in processing - and remember to sharpen for your intended output so your images look the best the can in print and on screen.
Don’t go without downloading my ultimate starter kit and getting your hands on an editing checklist AND some free Lightroom presets (along with more Lightroom goodies!)
