10 Tips for Shooting in the Snow
Winter is upon us, and in my part of the world, that means snow - and a whole new set of challenges when taking photographs!
There are a couple of things to be aware of when shooting in the snow, so I’ve compiled some tips that should hopefully help you if you dare to come out of your warm toasty house and enjoy some winter photography.
1) Prepare your Camera
First things first: what you need to do is get your camera slowly acclimatised to the change in temperature - so no going straight from a nice warm house into freezing conditions with your camera! So, maybe move your camera in it’s bag to the hall, then to the car, then out of the bag. (If it goes too quickly, it will just fog up) Also give it a chance to get used to the cooler air before you use it so have it hanging round your neck for a minute or two before taking your first shots.
2) Use Exposure Compensation at +1 or over
One of the problems with taking photo in the snow is that if you let your camera set the exposure (either in Auto or Priority modes) you will probably end up with dull under-exposed photos. This is because your camera will try to get everything in the frame to average out to a middle grey, and when it sees all that lovely white snow, it freaks out, and tries to darken it down to a reach this 18 % grey.
So, in order to get nice, corrected exposed images in the snow, you must either manually set your exposure, or use exposure compensation in the semi-manual modes, and expose to +1 or +2 on the meter.
(Not sure what settings you should be using for your aperture, shutter speed and ISO? Be sure to download our FREE manual mode cheat sheet to help!


3) Shoot in RAW
If you have the facility to shoot in RAW, now is the time to do so!
It can be tricky to expose correctly in snow for the reasons above, and with RAW you will have a little more leeway to correct your exposure later in processing.
4) Check your Histogram
If you are shooting in sunlight, it can be really difficult to see the image on the camera screen to check that you have nailed the exposure with all that light bouncing around. If this is the case, have a quick check of your histogram for the first few shots to ensure that you are not blowing any highlights - this is where you will see a spike at the far right of your histogram, so that it is touching the wall.
5) White Balance
I always struggle with white balance in snowy conditions, and the Auto White Balance feature on your camera will struggle too, so I suggest that you use a custom white balance.
Now, snow does tend to look a bit on the blue side, so you will might want to use a warmer white balance, but don’t try to overcompensate by warming it up too much, or you’ll get yellow snow 😄. The hint I heard is to get as neutral as possible, but with a blue tinge left in the shadows.
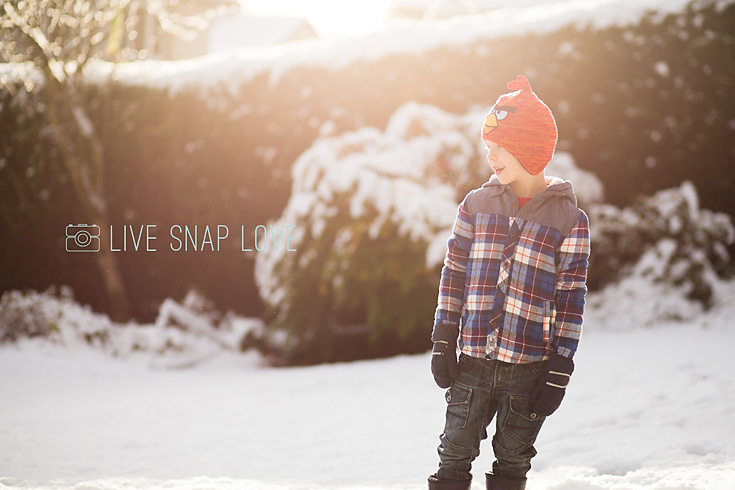
6) Wear Bright Colours
With all that plain white snow around, it can be great to wear more vibrant colours so that the subject pop off the background (although I have seen some lovely images with girls wearing white - so pretty!) Hats are a pretty cool way to frame faces too.
7) Beware Battery Power
In really cold weather, your camera will discharge power more quickly than normal. So make sure that your battery is fully charged, and if you are out for a while, that you take a spare battery with you.
8) Protect your camera from snow
If it’s actually snowing when you are out, you might want to use a Rain Cover for your camera (if it’s just a few flakes it should be fine) I’ve never used one of these so can’t comment on how easy they are to use, but they are cheap so perhaps worth having just in case you need it.

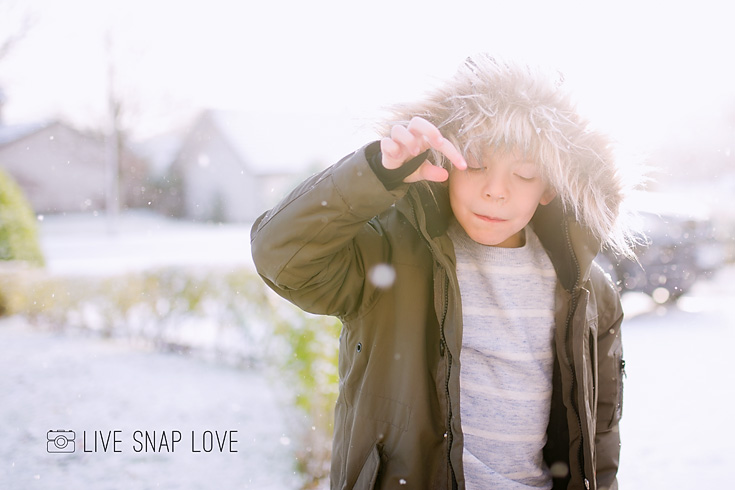
9) Play with Light
The beauty of shooting in the winter is that the sun comes up later and goes down earlier, meaning you will find it much easier to find that beautiful light . The white snow also acts as a reflector, so you can get some beautiful backlit shots without having a lug a reflector around with you! All that light bouncing around usually means you can get some lovely light into the eyes too.
10) Re-adjust your camera going back in
When you are ready to go back indoors, just as when you went out, make sure you let your camera slowly re-adjust to the change in temperature to avoid condensation in the lens. So, again, slowly does it. Make sure you leave it a while before you use it again once indoors. You could also pop in a couple of Silica Gel Packets in your camera bag too to absorb moisture.
Think that’s it! Oh - one more, don’t shoot when it’s too cold or there is an icy wind - the expressions you get will be far from cheerful - and make sure that everyone is wrapped up warm with lots and lots of layers, otherwise it is not an enjoyable experience for all concerned!
Before you go, don’t forget I have that lovely little bonus for you, that manual mode cheat sheet. Click on the image below to grab your free copy.