How to take a Self Portrait
I have to say, I find self portraits quite hard going! I'm much more comfortable being on the other side of the camera, for sure!
Apart from that, there’s nothing really more complicated about self photography than ”normal” photography, the biggest problem is the logistics of getting yourself behind the camera, and making sure that you are in focus (and not feeling silly having a camera trained on you!) and actually pressing the shutter!
So here's a step by step guide to taking your own self portraits with your DSLR camera…

STEP ONE: PICK YOUR LOCATION
As you would do with any other photography, choose how you would like to set the scene up (where’s the light coming from, what is the background like, etc) exactly the same as you would for any other photo.
If you want a ”proper” portrait, look for where you would get catchlights in the eyes etc. This guide on using indoor light for portraits will give you a good idea where to position yourself if you are not sure!
STEP TWO: POSITION YOUR CAMERA
Once you’ve got the location sorted, get your camera into position for taking the photo.
It’s really important to make sure your camera is steady by using a tripod or other flat surface. A tripod is much easier to use, but you can easily balance your camera on a chair or stool instead (if you don't yet have a tripod - they are a worthwhile investment - here's a guide to buying a tripod, with some ideas for really low cost options) just make sure it is secure, both from the point of view of getting the shot without blur, and ensuring that your camera is safe.
Make sure (as much as you can) that everything you want in the shot is there when you look through the viewfinder.

STEP THREE: CHOOSE YOUR SETTINGS
Next up, choose your settings!
The most important tip is probably to close up your aperture a bit more than you would normally as this gives you a lot more wiggle room for focus.
If you are focusing on something else within the frame and having yourself in the background, or you are just very confident about where you have pre-focused, then you can go much lower.
If you are in doubt about which settings to use when, then be sure to download my manual settings cheat sheet (it’s free!) here:
STEP FOUR: CHOOSE SOMETHING TO PRE-FOCUS ON
I usually use something nearby and place this in the frame roughly where I am going to sit / stand, however, you could use something already in the frame (such as a lamp) provided it is on the same focal plane as you will be.
It doesn’t matter what object you use, as long as you put it EXACTLY where you are going to be.
Focus on the object as normal, either by depressing the shutter halfway or using your back button to focus.
Then after you have pre-focused, switch the lens to manual focus (the little switch on the side of your lens) as this stops the camera from trying to re-focus when you step into the frame. As you are not going to be in control of the camera when you take your picture, it could focus anywhere! This way it will keep it’s focus in the same spot regardless of what happens.

STEP FIVE: SET TIMER (IF USING)
Although there is certainly nothing to stop you from using the camera’s timer delay function, I find it much easier to use a remote control of some description - either a Wireless Remote which allows you to press the shutter from afar (just point and click) or a Timer Shutter Release which lets you program in how many photos you want to take and the interval between them.
These are both very low cost versions I have linked to (and I have both) either of these are well worth having if you want to get in some shots yourself - there are more expensive versions on the market too if you want to spend a bit more).
For what it's worth, I would recommend that you use a Timer Shutter Release - it just makes life so much easier!

STEP SIX : GET INTO POSITION
Get yourself into position where you have prefocused. Once you are comfortably in position you can snap away to your heart’s content!
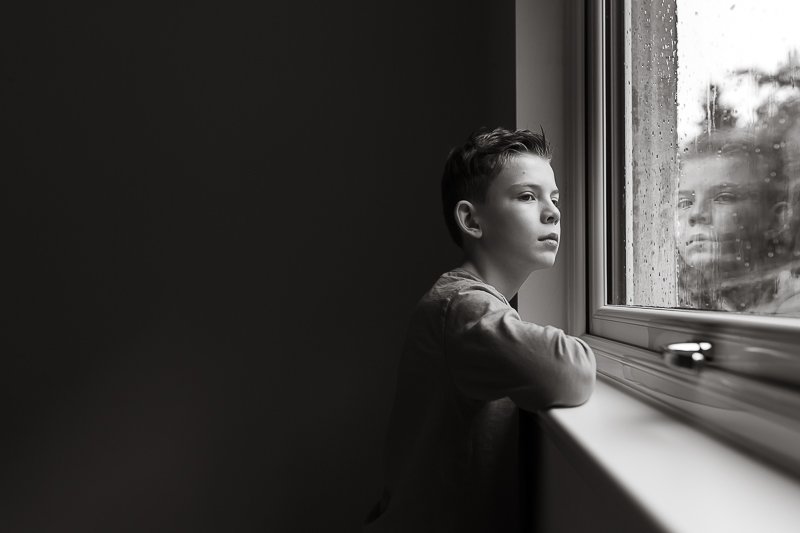
There is something very disconcerting about seeing yourself in a picture and you will pick up on all your flaws, so realise that you are probably going to hate them! However, remember that you absolutely don’t need to be posing to get a self-portrait, take a few shots of yourself making lunch or practising yoga, or just having a coffee like the one above.
If you really don’t like your face in the frame, who says a self portrait needs a face? Take a shot of your feet, your hands holding a coffee up - it’s still you!
All the normal rules for photography apply even when you are in the frame, so check out some more photography tutorials here on the blog to get up to speed, or if you want the quick version, just make sure you grab your free cheat sheet!