
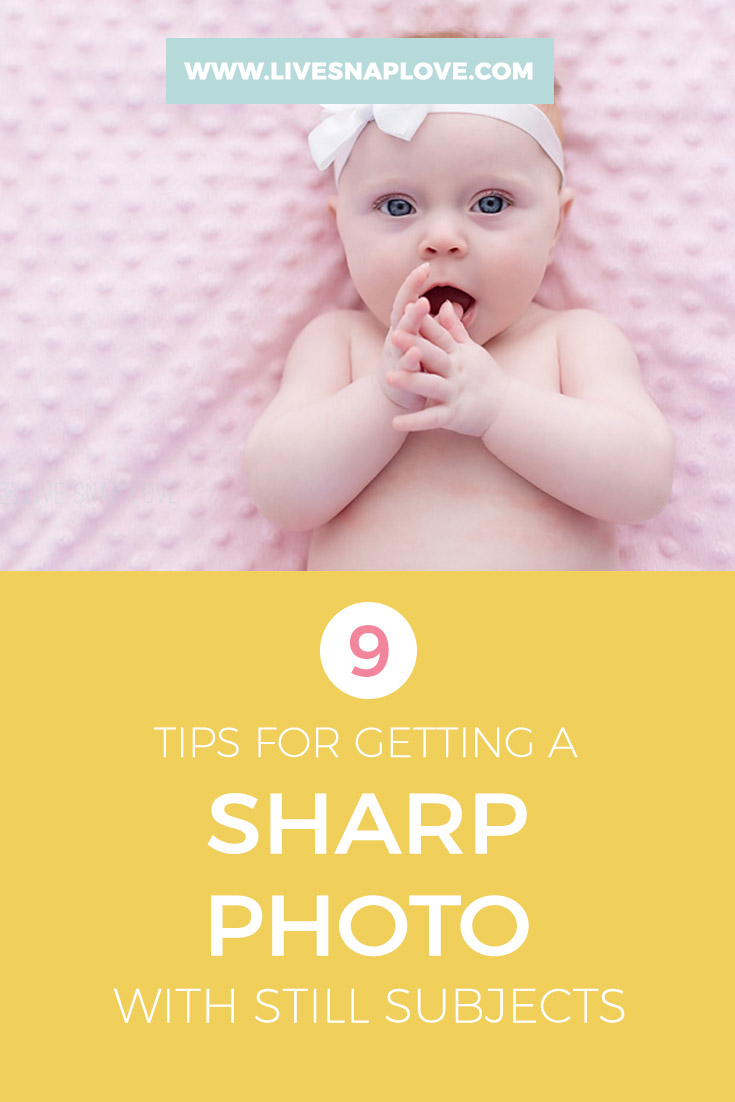
How to Get a Sharp Photo with Still Subjects
I did a post a couple of weeks ago with tips for getting sharp photos with moving subjects, so I thought I’d expand on that and do one with tips for still subjects too!
The good new is, with still subjects you have a lot more time to get your focus right, but nailing it can still be tricky! Here’s my tips for getting sharp images....
#1 - Watch your shutter speed.
This is probably the number one culprit for soft photos which is why it is always at the top of my list! The minimum I would go to is 1/125 for children or anyone who is unable to sit perfectly still as even if they move a little after you have locked focus it can cause your image to look soft.
#2 - Remember Your Own Movement
Remember that YOUR movements can affect the sharpness of your photos too. Hold your camera properly and keep your elbows into your side. Take a deep breath then press the shutter before you exhale. No wiggling around people!
#3 - Toggle Your Focus Points
It's best to toggle your focus points, especially if you are dealing with very shallow depths of field, as focus recompose at low apertures will probably throw off your focus. If shooting portraits, toggle your focus points and choose the one nearest the subjects eye. (Here's how to change your focus point)

#4 - Make Sure You Have Enough Depth of Field
Watch your depth of field if you are using wider apertures. If in doubt use a calculator to work out how much of your area will be in focus (here's how) There is some personal preference at play when considering how much to have in focus - I personally love a very shallow depth of field, where the eyes are in focus but everything else fades away into softness (for example the ears and the back of the head) but others prefer the whole head to be in focus. with only the background soft and blurred. It’s your photo, so you can choose whichever style you prefer!
If you are unsure about which aperture, shutter speed and ISO settings you should be using, be sure to download my FREE manual settings cheat sheet here:

#5 -Use Your Focal Length to Determine Minimum Shutter Speed
Use a shutter speed of at least the same focal length of your lens. So if you are shooting with an 85mm focal length, you need an absolute minimum of 1/85. I have super shaky hands though so I find that shooting handheld I need at least 1/80 to get a shot, even if use my 50mm lens.

#6 - Avoid using high ISO’s.
This leads to noisy images and they are just not as sharp. This is unavoidable at times but realise that your images are going to look a lot less crisp if you use higher ISO numbers. There are some strategies for reducing the noise in your images though, which start in camera!
#7 - Use A Prime Lens
As a general rule, prime lenses are sharper than zoom lenses. There are some high end examples when a zoom is as sharp as a prime, but generally speaking, you will get a sharper image with a prime.

#8 - Don’t shoot wide open!
Lenses generally have a sweet spot, which is usually a couple of stops above the lowest aperture setting. So an 50mm F1.4 will probably be sharpest around F2.5, however, this can vary between different lenses - My 35mm F1.4 is sharp stopped all the way down (a rarity!)
#9 - Apply Sharpening In Editing
If you are shooting in RAW, you will need to apply sharpening later in editing. (If you are shooting in JPEG, the camera adds sharpening when it converts it to JPEG although you may want to add more anyway) Be careful not to overdo though!