
Step by Step Guide to Using Back Light
I love shooting with back light (where the light is behind your subject) as I think it helps create a much more dramatic picture. However, there can be some issues to getting this right, especially with exposure and focus, but by these following tips, along with practice, you will be shooting into the light in no time!
Here's my step-by-step guide to using back lighting in your images.

1) Shoot Earlier or Later in the Day
You can use backlight at any time, but in many cases you are going to find this easier to do during times when the sun is lower in the sky. I rarely shoot during the golden hour (the hour just after sunrise or before sunset) as it's usually too late / early for me to consider in my part of the world during summer, and just too darn cold in winter! I also don't shoot that many portraits, since I'm generally shooting my own children in lifestyle / documentary settings (which means I need to shoot at the time of the activity, not 6am) but you can make life much easier on yourself when incorporating back light by scheduling your sessions at times close to sunrise or sunset. However, even if the sun is nearer directly above you, like at midday, then you can still backlight, but you will get a different affect. It's great to practice at different times so you can see what you prefer.

2) Shoot in Manual Mode
There are a whole host of reasons why you should be shooting in manual mode, and this is just one of them! When using backlighting, manual mode just makes everything so much easier, as you can really control your exposure, which is a must.
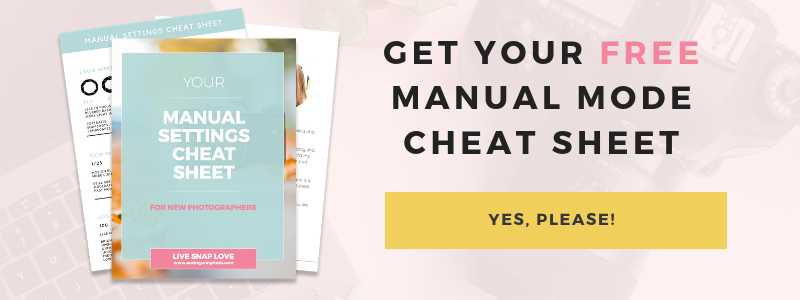
If you’re not 100% sure what settings you should be using on manual mode then you can download my FREE manual mode cheat sheet right here! In this simple one page guide, I lay out which Aperture, Shutter Speed and ISO settings you should use for different photos.Print it out and keep it handy when shooting so you can confidently and quickly set your camera in Manual Mode and get better back lit photos!
3) Shoot in RAW
When shooting into the light changing from JPEG in RAW is really your best bet - you will have so much more control over the highlights and shadows (both of which are prominent in back lit images!) and be able to adjust the exposure to suit your creative needs with much more ease.
4) Position your Subject
It can often be best to shoot with the sun not directly behind your subject, but rather to the left or right of them, but any way is fine! Move around your subject and see what suits you best. Shooting into the light like this means you will get haze and sun flare in the image, both of which I personally love and embrace!

5) Consider Filtering the Light
However, if you are not a fan of haze or sun flare, then you can filter the light by having something between the sun and your subject that will help diffuse the light a little, for example, trees or tall grass. This gives you backlight but without that hazy look.
6) Have Open Sky Behind YOU
You want to make sure that you have plenty of ambient light on your subject's face - the best way to do this is to make sure that you have plenty of open sky behind you - no buildings or trees blocking that ambient light to your subject.
Not sure if you are going to remember all of this? Then make sure you download the free cheat sheet I've created for you!
7) Consider a Reflector
I rarely did out the ol' reflector (again because of that whole lifestyle documentary thing) but if your subject is underexposed, and you are finding it hard to balance the light and the shadows, get out the reflector to bounce light back onto your subject. This reduces the dynamic range (the range between light and dark) and you will find it easier to get that balanced exposure.

8) Set Your Metering Mode to Spot
In this instance, any other metering mode than SPOT can cause a few problems with getting the correct exposure. Take the reading from your subject, blocking with sun with your hand if you need to.
9) Chimp and adjust
All that light coming directly into your lens (and therefore your meter) can have a bit of an affect on how accurate the metering reading is, even with using spot, and many times it will still be underexposed. I find it best to chimp (look at the image on the back on the screen) before snapping away, and make some adjustments and over exposing if need be.

10) Use a Lens Hood to Help Get Focus
Your lens will probably have a hard time locking focus due to all the light entering it, so you can minimise the light by either using a lens hood, or by simply holding your hand over the top of the lens to help it lock focus (You can take your hand away once you have locked focus) Also, look for any area that has a hard line between light and dark - that contrast will help your image lock focus.
Back lighting can work at a variety of times, on varying different subjects and locations, so don't feel you need to be in a beautiful field of flowers to incorporate backlighting into your images - you can do this in your garden, on the street and even indoors!