
8 Family Photo Poses You Can Try Today!
Today I’m going to share with you some family photo poses and ideas that you can use in your next family portraits - whether you’re photographing your own family, or someone else’s!
I know it can be difficult to know what poses to use when taking pictures of families - how to pose them in the first place, and then how to get different looks from one pose so you’re not constantly moving everyone around.
So today, I’m going to walk you through 8 different family photo poses, along with some compositional guidelines, and little titbits on how to get more variety from each pose. (In other words, get more photo variety with less work!)
All of these poses will work for families of 4, but very often larger groups, but where the pose is best for a family of 3, I’ve noted that too!
After the 8 family poses, I’ve also given you some general guidelines for posing families, that will give you some more information on posing in general, rather than rigidly stick to “poses”.
My hope is that by having some idea of how to pose families, you’ll feel more calm and confident next time you’re out shooting portraits!
Ready? Let’s dive in!

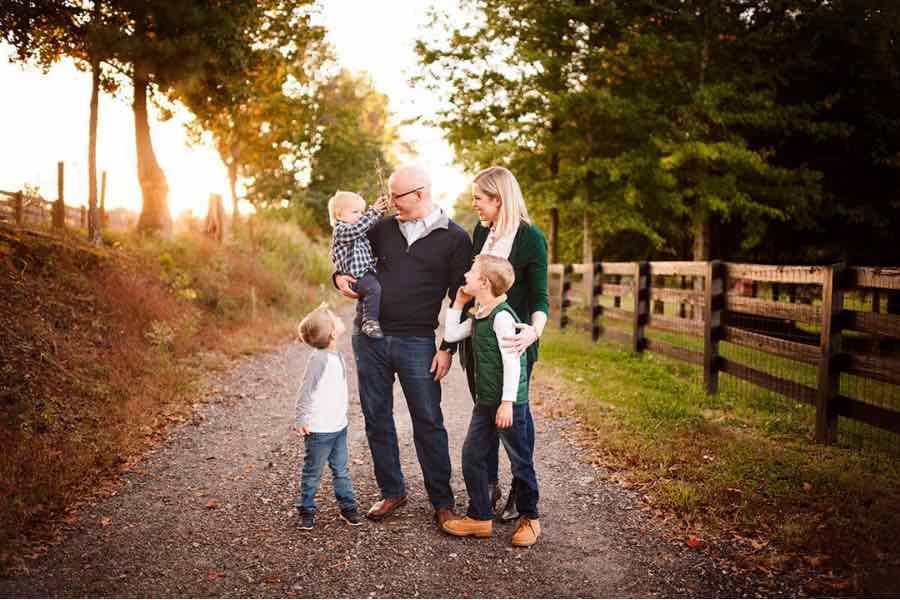
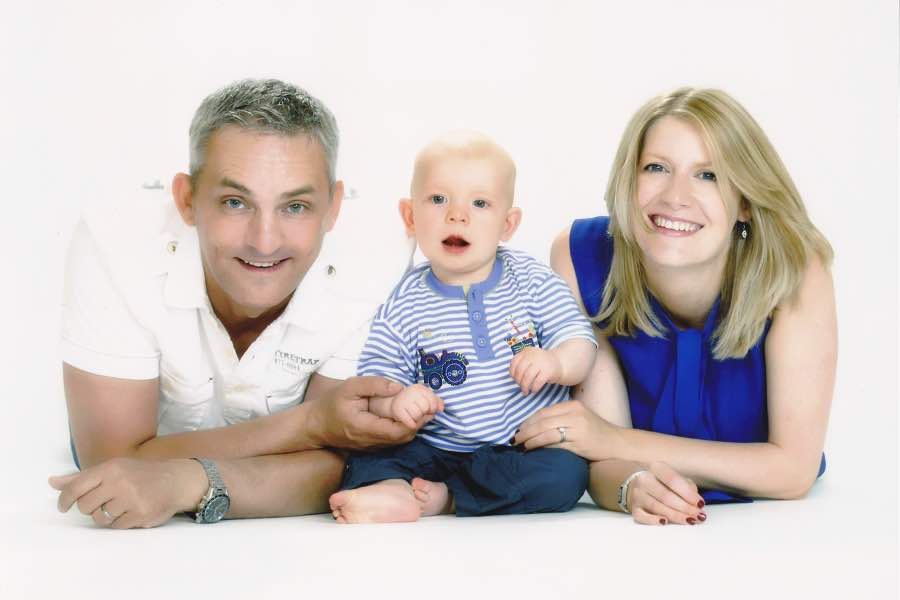
Pose #1 - Sitting in a Triangle Shape
The first family pose I have for you is to have everyone sitting down and then have them form a triangle shape.
This is such a simple way of posing your families, and can give you a lot of variety!
To do this, all you need to do is pose your subject in such a manner that they create a triangle shape with their bodies like in the photo below.
This gives your photo much more visual interest, because forming a triangle pose gives you diagonal lines in the frame, which helps the scene look more dynamic!

Add variety to this pose by shooting wider, getting the full body in and then moving in further for a half body shot, and then going for a tight headshot.
(Want to learn more? Read this post on the 3 types of portrait shots you should be taking)
Pose #2 - Standing Facing Camera
Our second pose is a fairly standard one - simply have everyone standing facing camera. You can also have them form a loose triangle shape here too.
You can create variety in this pose simply by first having everyone look at the camera, and then at one another.
To me, this second option creates a much more fun and relaxed portrait, and I think that things are moving away from the more standard family portraits that are more stiff, into something a little bit more relaxed and informal.
(Although of course, why not have both and let your clients decide!)

These two photos are from a photographer that I really love and admire Melissa Gibson, and she wrote a blog post for us on how to make your family photo sessions fun, so be sure to check that out too!
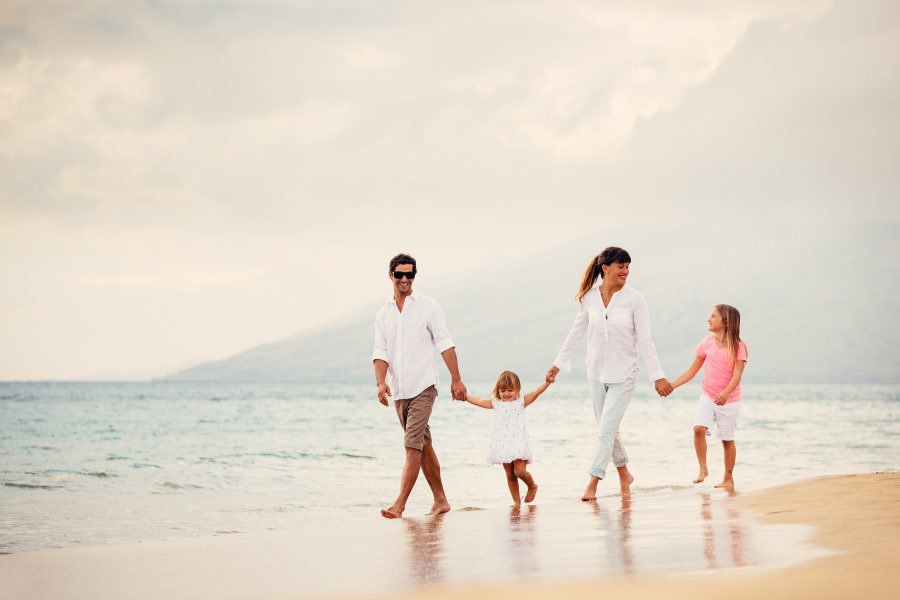
Pose #3 - Walking Toward or Away
The next family portrait pose is to have everyone walking toward or away from you.
So starting with having everyone walk towards you, you can, again, start with everyone looking at the camera, and then switch it up so that everyone is looking at someone else in the frame, as they walk slooooowly towards you.
Again, that gives you you that two different portraits from the same pose.
Another option to get more variety into this pose, is to change up the speed!
So rather than having them walk very slowly, speed that up and have them RUN towards you!
This is particularly great for children who don’t particularly want to be in a posed family portrait! This can help loosen them up.
Even if you go on to prefer the more posed portraits, simply have them run toward the camera can make it more fun rather than being all posed and formal.
This is also a really great idea for when you want to photograph children on their own, or just the siblings without the parents.
If you need some more ideas for posing children and siblings, be sure to download our FREE Child Poses and Prompts list - it will give you loads of suggestions for taking photos of kids, which of course you are going to need for a family portrait session too!

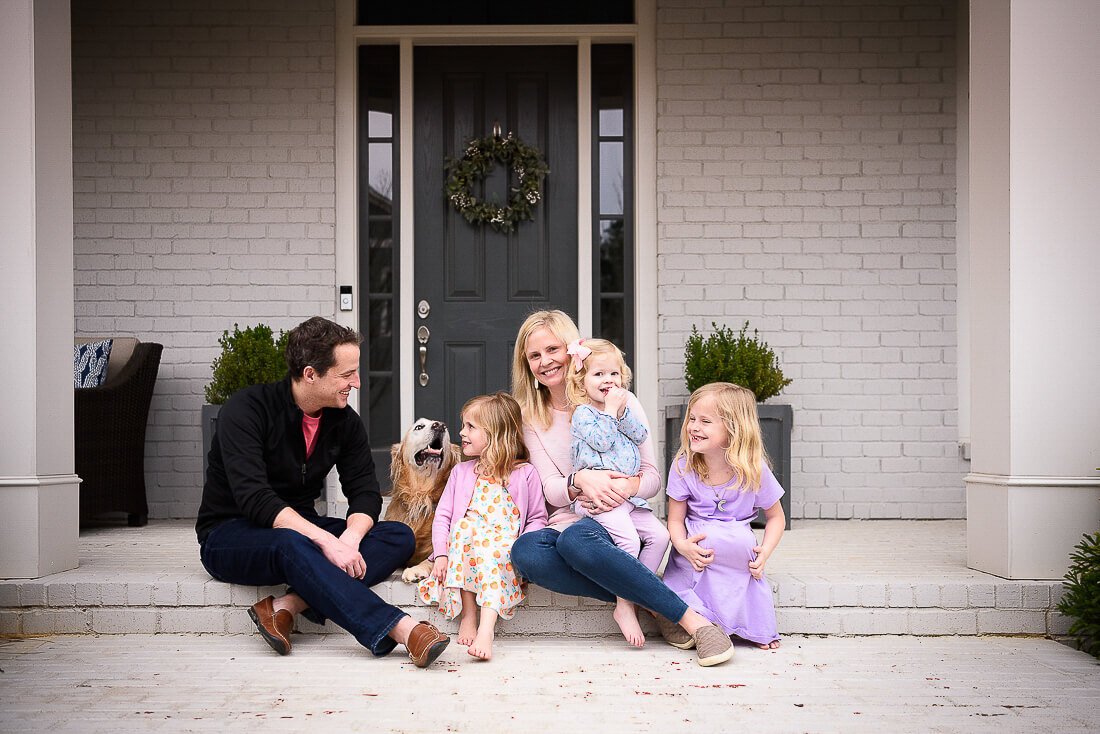
Pose #4 - Line Up In A Row
Rather than simply lining everyone up in a row, particularly with larger groups, an option to make this more interesting is ensure you ask for more connection in the family.
To do by asking everyone to hug or touch in some way.
Basically, get everyone to kind of smooch together!
As you can see in this photo here, all the faces are together because everyone's hugging one another, and that really helps bring that a connection and adds more interest to an otherwise rather basic pose.
Once again, you can have everyone stand as in that last example, or you can have everyone sitting down.
You can do this pose with a family of 3, all the way up to larger groups as well, so for example, a family of 6 or 8 people.
However many people you have, make sure that everyone is touching in some way, which adds that connection, particularly when you have larger groups.
One other example I wanted to show you of having everyone stand in a row, and it's a silhouette photo.

In this instance, we DON’T want connection as we need to clearly see the outline of each person, so you must ensure that they're not close together.
Basically this is the opposite of what we've been saying of having everyone squoosh together!
When you're doing a silhouette photo, you really do need to have that separation between each person and you can see a really clear outline of them.
If you're not sure how to get a silhouette photo, go read this post on silhouette photography and I’ll walk you through how to do it step by step.
Pose #5 - Shoot Down
Next up, we have family pose number five, and this is a really fun one!
For this pose, everyone lie on the floor and then you shoot down on them, as they look up at you.
Once again, you can add variety to this pose by having everyone look at one another instead of up at you.
Now, just a really important safety point here; when you do this, ensure that you have your camera strap around your neck as you definitely don't want the camera to fall onto your subjects!

Pose #6 - Bring Children Up To Same Height
The next family pose I have for you is to bring the children up into the same height.
So in his example here, there's a younger child which has been brought up to same height at his parents, and again, you can get everyone to smooch closer together to get that connection.
And again, no one here is looking at the camera, but it's a really nice intimate portrait because everyone is hugging and touching in some way.

Now for older children, it's not really going to be feasible to have them on your hip!
In which case you can have them stand behind on something. for example a park bench, or you can bring boxes along with you and have them stand behind their parents.
If they're a little bit younger and not too heavy, you can have them actually just being carried on the backs of the parents.
Again, it's another means of just adding a little bit of variety to a pose. You could have everyone standing with the children in front of their parents and then just have the children move behind and get up onto the same height.
Pose #7 - Throwing Child in Air
Now, the next pose I have for you is for throwing a child in the air.
Obviously the child has to be young enough for this to happen (I’d hate to see the result of me trying to throw my 12 year old in the air - he’s already bigger than me!)
The example I've shown here is a silhouette because I love it so, and it’s not your typical portrait.
Just out of interest, you can see that in this one, everyone's forming a triangle shape here as well, which also helps with that diagonal lines.

Pose #8 - On Tummies
The final one I have for you is to have everyone lie on their tummies.
Now this only works with smaller groups, probably up to a family of four or five (if the children are quite young!) otherwise it starts to look a little weird!
For older children, families of three or four are probably best.
This is also a really great one for siblings, so when it’s time to take the parents away and just photograph the kids portrait, this is a fab one for them.
General Tips for Family Photo Poses
Now that you have a list of poses you can try (and really, these are all you need) here’s some general tips for posing families.
These guidelines will help you get the most variety from each pose, and give you a wide number of options for your client, so for example, if your family loves a certain shot but wishes it were bigger / smaller / fits an 8 x 10 frame, then you have some options behind you for very little extra work.
Let’s dive into the first guideline for photographing families:
The Rule of 6 For Posing Families
Try to photograph each pose in 3 different ways - firstly go for a full body, then a half body, and then a headshot only.
For each of these, aim to take both a horizontal (i.e landscape) shot, and a portrait shot (i.e vertical!) This might not be possible for all poses, but for the majority, you should be able to do this!
This means for each pose you will have:
One full body shot (horizontal)
One full body shot (vertical)
One half body shot (horizontal)
One half body shot (vertical)
One headshot (horizontal)
One headshots (vertical)
You can read more info on these 3 types of portrait shots here!

Have a flow to your poses
The next thing to think about is how you structure your family photo session so that the poses flow from one another.
I find the best approach is to have everyone walk, then stand, then sit and then lie in each location.
Again, you might not be able to do these in every single location, but if you think about it in that order, then you’ll find it a lot easier!
So, let’s take an example of photographing a family at the beach.
First, have everyone walk or run toward you. Then have them stop and stand, and then move into a sitting position. Finally, get everyone to lie on their tummies if that’s an option for you.
Focus On Connection
Another way to add variety is to focus on different connections.
Having everyone look at the camera is fine, and the first option, but then ask the family to look at one another, and then switch up who is looking at who!
For example, ask Mom and Dad to look at one another and the kids to look up at Mom and Dad, then ask Mom and Dad to look at the kids and the siblings to look at one another.
Again, it’s just getting variations from each pose, and hopefully one will be a winner!
Family photo poses for 3 or 4 or 5
Most poses are fine for families where you have 3 - 5 people in the group.
Once you get beyond 6, not all poses will work, and if you have very large groups, you might need to split them into 2 rows!
But the same principles apply - you can still form a triangle shape, or have everyone line up a row, and smooch together to create connection!
You can also read this post from digital photography school that has some specific tips for posing large groups.

Ask the family if they have any requests!
Often a family will have some ideas in mind (hello Pinterest!) so ask them ahead of time if they have any specific poses they want to try.
They also might prefer to focus more on getting good shots of the siblings together for example, so setting up expectations ahead of time can help ensure your client get exactly what they hoped for!
Don’t forget that I do also have a free download that I think you’ll find incredibly useful - our child posing prompts!
Grab these as well, and then you’ll have ideas for posing families AND ideas for posing the kids on their own, so you have loads of prompts ready for your next family photoshoot.
And there you have it! Our 8 family photo poses along with guidelines to help you feel more in control when posing families.
Want to see some more examples of these poses? Check out our YouTube video instead! Just click on the image below to watch.

Plus, you’ll probably love to give these a read too!
How to Make Family Photo Sessions FUN!
Best Camera Settings for Family Photos