
How To Use Your Regular Lens For Macro Photography!
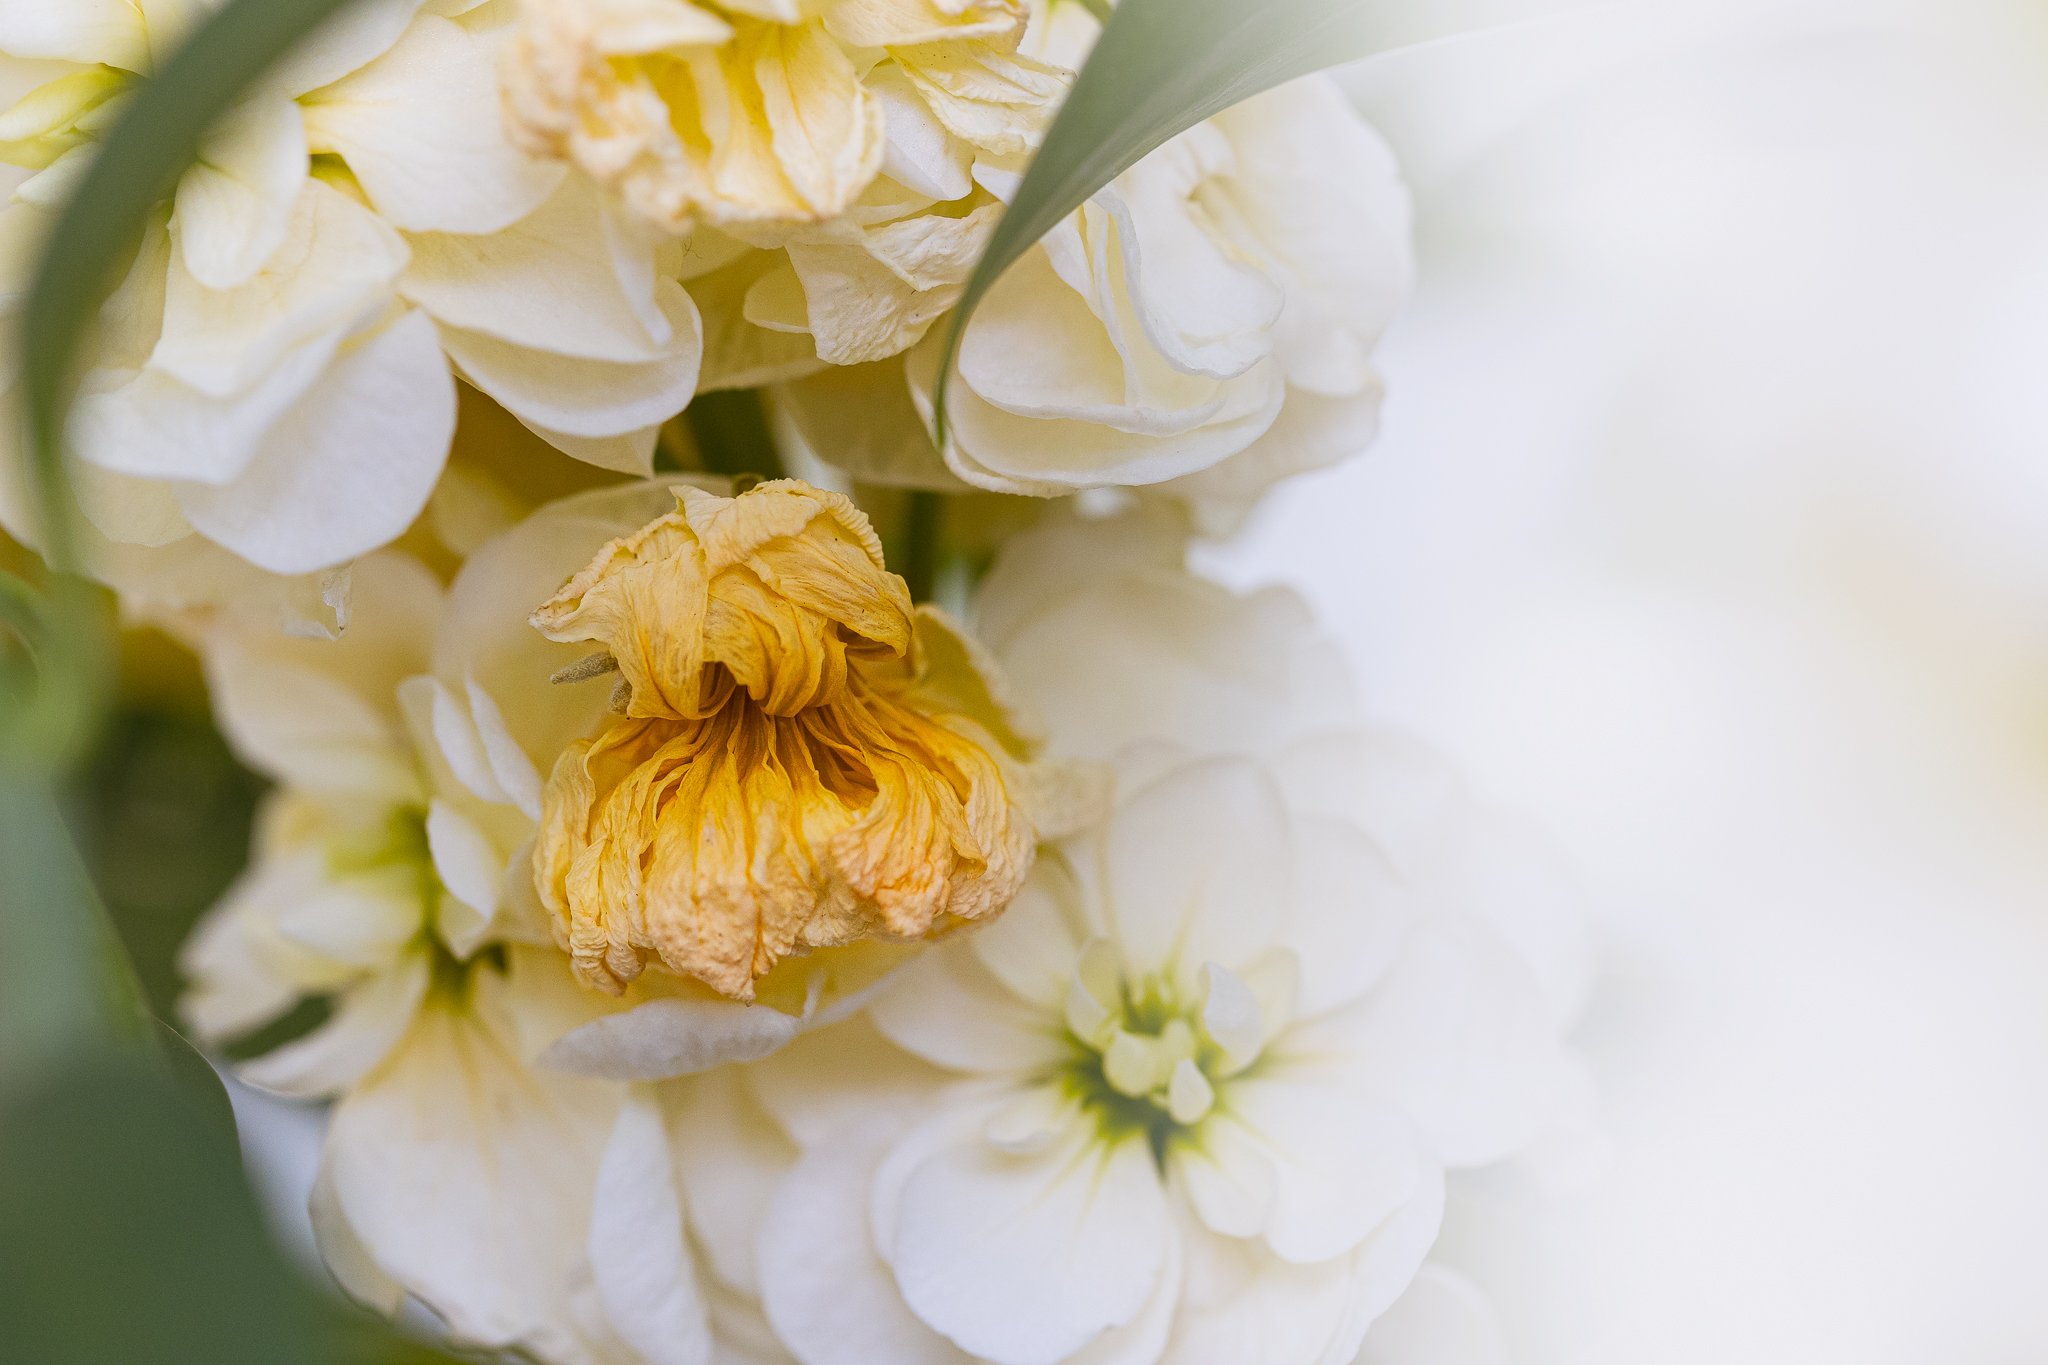
Today I’m going to be talking about a form of photography that really opened my eyes to the beauty that is around me every single day, even in the most mundane elements, and that is macro photography!
You may have considered giving macro photography a try, but you maybe don’t want to spend hundreds of dollars getting a macro lens, or at least not yet, and are wondering if you can take macro photos without one.
Well, the good news is there are a number of other options available to you, ranging from around $15 to $70, so there really is something for everyone, regardless of your budget.
Today, I’m going to go through some of the options that are available to you, the pros and cons of each one, plus I’ll tell you what I would personally recommend that you get.
So if you are serious about wanting to take macro photos, but not quite serious enough to warrant a full macro lens - or it’s simply just not in the budget for you right now - this is the post for you!

Before we dive in, if you’re interested in macro photography, then I have something for you that you are going to love! My new online, hands on workshop; Everyday Macro Magic.
In this workshop, I’ll share must-know macro techniques that will help you capture amazing macro photographs of everyday items and nature, plus you’ll get detailed “macro missions” to complete, so you’ll have a bucketload of inspiration at your fingertips too! To learn more, go check out this brand spanking new macro photography workshop today!
#1 - Close Up Filters
Close Up Filters are essentially magnifying glasses that screw onto the filter threads of your existing lens.
They work by allowing you to decrease the minimum focusing distance so you can get closer to your subject and still focus on your subject!
The higher the number of your close up filter, the closer your lens will be able to focus.
Close up filters are often sold in kits with various magnification strengths (like +2, +4, +8 and +10) in one kit.
You can use these individually, or you can stack them on top of one another for extra magnification (so you could even use these with your existing macro lens if you have one!)

You'll need to know the thread size of the lens that you intend to work with. For example, a Canon 50mm F1.4 lens has a thread size of 58mm.
If you're not sure, check the thread size of your lens by looking for the symbol for the Greek letter phi (it's like a circle with a line through it) and the numbers immediately before or after it will be the size you need.
(If you are still not sure just google "thread size of name of lens" and it usually comes up!)
I’m not going to sugar coat it, the images you get with a close up filter won't be anywhere near as sharp as a dedicated macro lens, but they will let you dip your toe into the world of macro for a really affordable price.
Obviously, the more you pay, the better quality you will get, and I have linked to a few options for you below - these are all for different thread sizes, but remember to get ones that fit the thread size of YOUR lens!
Close Up Filter Set by Vivitar
#2 - Lens Reversing Ring
Another cheap and cheerful option is to get a lens reversing ring, although this definitely won't be for a good idea for everybody!
These allow you to mount your existing lenses backward on your camera (so the part that you normally have against the camera body is facing outwards) so that you can get increased magnification.

There's a couple of things that you need to be aware of before you go down this route.
As there is no longer any connection between the camera body and the lens, you can't use any features that require that connection, for example auto focus, or changing aperture.
That's why they work best if you have a lens with a manual aperture ring - in other words, where you can control the aperture you use by a ring on the lens.
If you don't have that feature on your lens, you won't be able to make any adjustments to your aperture, and you’ll be limited to working at your lens’s maximum aperture, which is a pretty big downside for macro photography!
Finally, there is a bit of a risk to the lens, since you are essentially putting the elements that are normally safely encased on the inside on the OUTSIDE, where they were not intended to be. For that reason, don't use these with an expensive lens!
Here's an example of a lens reversing ring here, but you will need to get one that fits your specific lens and camera body!
I do have to say this is my least preferred option, but if you have a cheaper lens with manual aperture ring then it's worth a shot :-)
As a side note, you technically don’t need a reversing ring, you can just hold the lens in this back to front way, but it’s awkward. Might be worth trying out first before buying.

#3 Extension Tubes
The final option I have for you is extension tubes.
An extension tube is a hollow tube that fits between your lens and your camera mount. These work by extending your lenses - in other words, it moves your lens further from the camera, and the front element closer to the subject.

There are two types of extension tubes available:
The first - which also happen to be the most affordable - don’t maintain the electrical connection between your lens and camera body.
Again, just like with the reversing rings, this means unless your existing lens happens to have an aperture ring, you won't be able to change the aperture you're using, and you'll be limited to working at your lens’s maximum aperture.
You also won't be able to use auto-focus (although it is often easier to focus manually with macro anyway).
The second type - and the most expensive type - also has the electrical contacts that allows you to keep the communication between the lens and camera body.
That means you can change the aperture settings, and also use autofocus should you wish to do so.
You can also use these individually, or stack them one on top of the other.

My Personal Recommendation!
My personal recommendation is to get Extension Tubes that have the connection between the lens and the camera body.
Although these are a little more expensive, I still think they are affordable for the most part, at around $50 - 70.
Here is my suggestion for you (although you will need to get one for your specific camera brand, these are for Canon)
Macro Lens Extension Tube Set for Canon
Macro lens Extension Set for Canon
Join Us In the The Everyday Macro Magic Workshop!

Don’t forget to check out Everyday Macro Magic - my newest workshop on macro photography with core training videos, macro missions, editing videos and macro gear guides. It has everything you need to take your macro photos from so-so to stunning!