
6 Ways to Set White Balance
Getting white balance right in camera is an extra step when shooting, but it’s SO worth it to get rid of all of those wonky color casts that make your photos look awful! Whilst you can always change your white balance later in processing, it’s much easier to get it right in camera, and will save you a ton of time in editing, pinky promise.
Here are six different ways to set your white balance when taking your photos, so you have absolutely no excuse for not doing it 😀

1) Use your Camera’s built-in presets.
You will have a range of presets including sunny, cloudy, lightbulb etc. Pick the one that most closely resembles the light you are shooting in. This can be better than using AWB, as it saves your camera having to guess which lighting situation you are in. This gives you a better starting point in processing, but you will still need to make changes to get exactly right, as the presets only give a "ballpark" white balance.

2) Use a grey card.
These have been used for years as a quick, cheap and cheerful way to set your white balance accurately. Simply place the grey card in the light where your subject is and take a photo, filling the frame with the grey card. You can then use this to set your white balance using the ”custom” setting, and you can also use it to set exposure (see this post on how to use your grey card for more information)
You can get collapsible cards like this white balance card, or a pocket sized grey card, both will easily fit into a bag so are also quite portable!
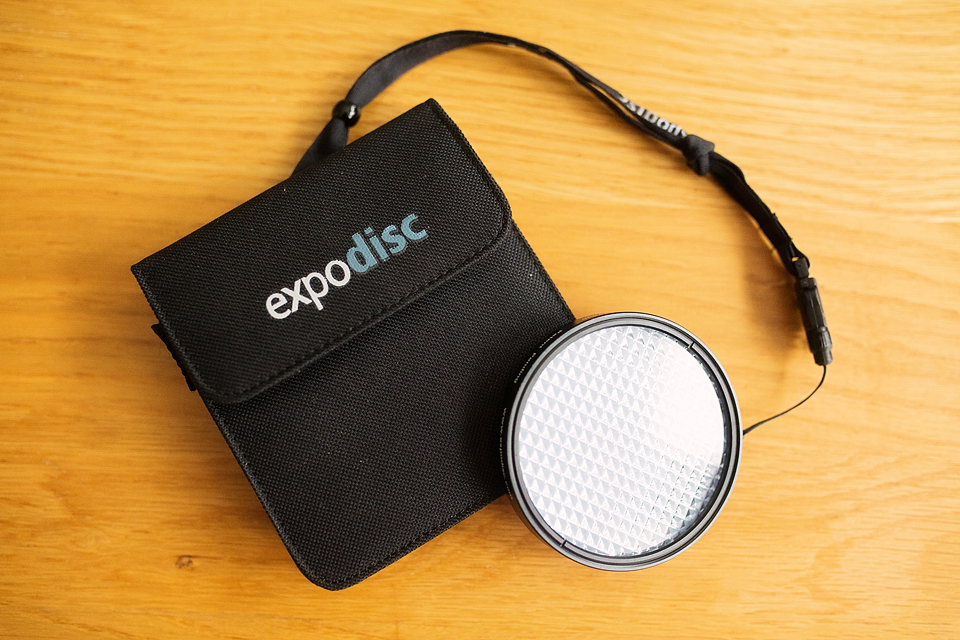
3) Use an ExpoDisc .
This is my personal favourite - an Expodisc. It does the same job as a grey card, only better, and it also makes the whole process of setting your white balance easier. Instead of having to have someone hold up a grey card, you can simply hold the Expodisc over your lens and take a picture, making sure the lens is completely covered and you are pointing the camera where you are taking the shot from. You then set your custom white balance in your camera settings (same as the grey card) and you should have perfect white balance.
I've outlined the steps for using the Expodisc here for those of you who might want to see how this works.
4) Use a Neutral or White Element
Don’t have an Exposdisc or Grey Card to hand? you can use something in the scene that you are photographing that is neutral or white to set the white balance. It won’t be as accurate as a grey card or an expodisc but will get you reasonably close. This could be a white piece of paper, a grey sidewalk, or even the white lid of a coffee cup. You set white balance in the same way as using a grey card, by photographing and custom setting the white balance. It won't be 100% accurate, but it may get you closer!
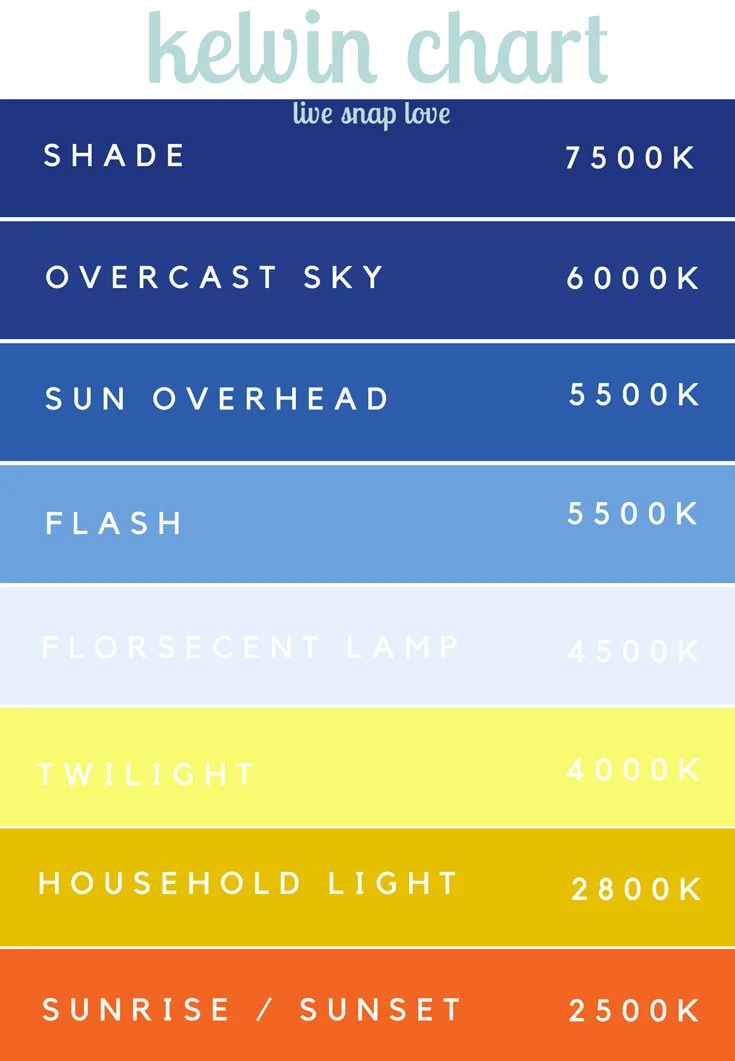
5) Use Kelvin.
Kelvin in a scale for measuring color temperature. Not all cameras have the ability to set White Balance by Kelvin, check if yours does by going into the White Balance Menu, if you have it this will be denoted by a K. To use this, you need to know your Kelvin White Balance Chart. You visually assess the light in the scene you are trying to capture - whether it is cool or warm - and then dial in the correct color ”number” for the scene you are trying to shoot. It’s more accurate than using AWB or Presets, but does require a degree of knowledge on your part. As this only sets the cool / warm tones, you will have to tweak the magenta / green tones in processing. Here a step by step guide on how to use it. - that post also has example numbers for you to get started!
6) Use a White Balance Lens Cap
Alternatively, you can use a White Balance Lens Cap which essentially this does the same job as a grey card (and the expodisc) in that you use this to set a custom white balance by filling the frame with it. As this is also a lens cap, it's more likely that you will be use it since you will always have it on hand! It's also a fraction of the price of the Expodisc.
If you don't manage to set the white balance in camera, then you can always change the white balance later in editing, but it can be a pain to get right - it's much easier to at least have a good starting point in camera so it's just a question of "tweaking"
If you are wondering how these different methods compare, I'll be back tomorrow with a post with some examples images, comparing a few of the methods outlined above - see you then :