How to Get a Blurry Background in Photography
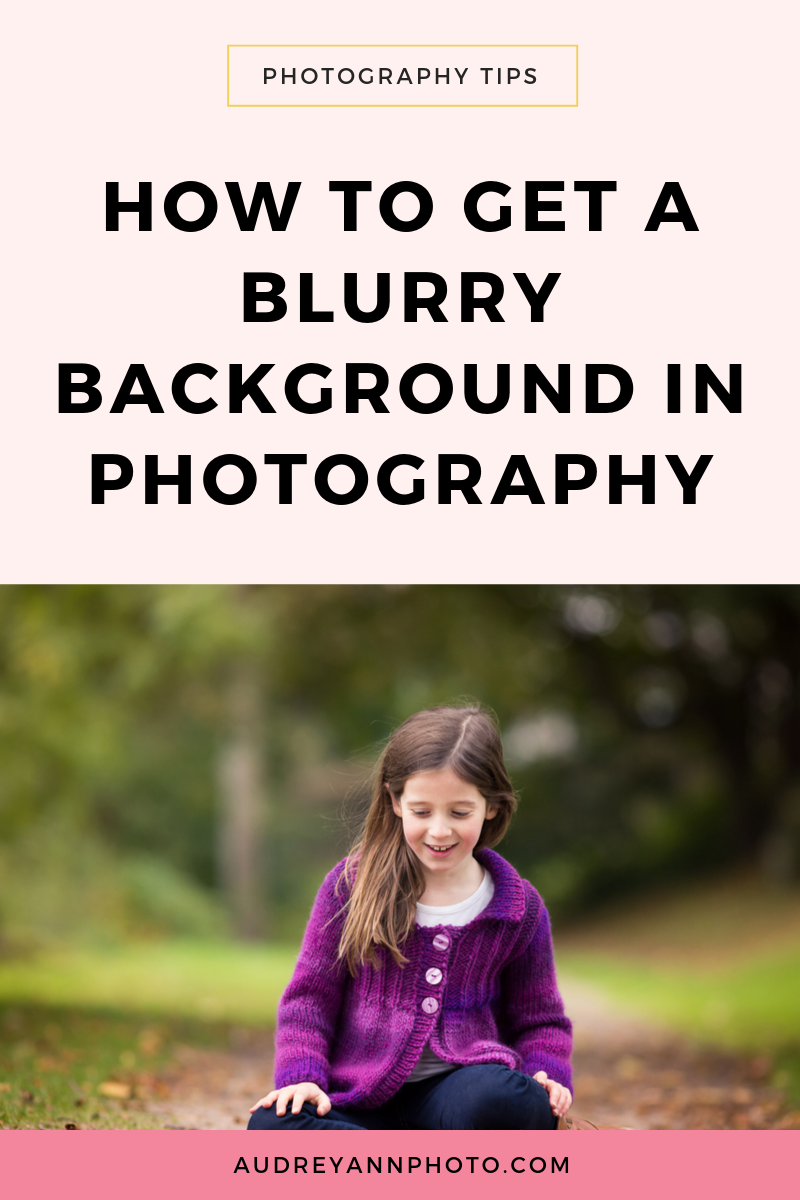
This week’s video is all about how to get that blurry background in your photos so that your images look more professional, and where your subject just seems to kind of pop off the screen!
Regardless of what camera you have, what lens you're using, if you follow the steps laid out in this video, then you are going to get images that have an amazing blurry background - pinky promise :-)
I'm going to break this down into four simple steps, but be sure to stay right until the end because I’ve also got an extra bonus tip for you that's going to give you even more dramatic looking blurry backgrounds!
Either watch the video below, or if you prefer to read, scroll down to see all the steps written out for you, along with examples….

Step One: Use Aperture Priority Mode.
If you're currently using auto, I want you to move away from that and switch that dial on the top of your camera to aperture priority mode. Now if you use Canon, this is going to be a AV. if you use Nikon or Sony, or any other type of camera, that's just going to be written as A, so your first step is to use aperture priority mode.
Don’t forget you can download my FREE Aperture Priority Mode Cheat Sheet which is going to detail this for you step by step!

Step Two: Choose a Small F Number for a Blurry Background
So step number two toward getting your blurry background is to choose a small F number.
Your F number controls your aperture, which controls your depth of field, and your depth to field is simply how much or how little of your scene is in focus. And in order to get that blurry background, we want to use a larger Aperture to get that smaller area in focus.
So on your camera I want you to move your aperture dial and choose something like F 2.8.
Now if you have a lens that is capable of shooting with a wider aperture such as F1.4 or F 1.8 I STILL want you to stick around F2.8. It's just going to ensure that you get a sharper image, especially if you're not confident in your focusing abilities.
Now if you have something like the kit lens and that doesn't allow you to use a small an F number as F 2.8 - maybe the maximum you can go is to F 3.6 - in which case that's absolutely fine. Just use something like F 3.6 or as small a number as your lens will allow.
Now I'm going to show you a couple of examples that is going to show you the difference just by using a different aperture. So this first image was taken at F 7.1 and you can see that the background is kind of clear. We don't really have much of a blurry background here!

Compare it to this example where the image was taken an F 2.8 and you can see we already have some background blur there, just by using a larger aperture!

So the F number that we use has a big difference on how much blur we can get in our background. But there are some other things that we can do to maximize that blur, particularly if we can't use that large an aperture like F 2.8, and we maybe have to use something like F4.5 or F 3.6.
Step Three: Pull Subject Away From Background
So the third step is to pull your subject away from the background. Now, it doesn't matter if you're using a really large aperture number, and therefore getting that smaller depth of field, if you had your subject really close up to the background you're not going to get much background blur.
The more you move that subject away from the background, the more of a blurry background you're going to get. And again, let me show you an example!
So this image is taken an F 2.8 as before, but this time we’ve moved the subject away from the background - just a few feet forward from the background and you can see that we're getting more background blur by doing this.

Step Four : Get Closer for more Blurry Background (Optional)
Now step number four is optional, but you can also get closer to your subject to get of a blurry background.
The closer you are to the subject, the more background blur you are going to get. Once again, let me give you an example. So again, we are still at F 2.8 here but this time it’s more of a close up shot. You'll see that we get more dramatic blur the closer that we get!

Now this might not always be possible, as you might want to have that room around your subject, but just know that moving closer to your subject will give you more background blur.
But I also promised you a bonus tip - so here it is…
BONUS TIP! Use a longer length lens
If you have a choice of lenses, and if you want a more dramatic blurry background, then always use a longer focal length. So for example, if you have the choice of using a 35 mm lens or 135 mm lens, that 135 mm lens is going to give you more dramatic blur.
Again, let me show you an example. So here's the image taken with a 35 mm, and even just trying to frame this in exactly the same way, underneath is an image taken with 135 and you can see that the blur in the background off the image taken with the 135mm is more dramatic.


(As another little side tip, if you're photographing people, that longer focal length is also more a flattering, as it tends to slim down the face!)
Be sure to grab your FREE Aperture Priority Mode Cheat Sheet before you go too! This 8 Page Aperture Priority Cheatsheet will help you get your head around aperture and depth of field, and understand which Aperture, Shutter Speed and ISO settings you should use! Print it out and keep it handy when shooting so you can confidently and quickly set your camera.