How to Use an Expodisc For Exposure & White Balance
In this week’s blog post and video, I’m going to show you how to use an expodisc to set both your exposure and your white balance.
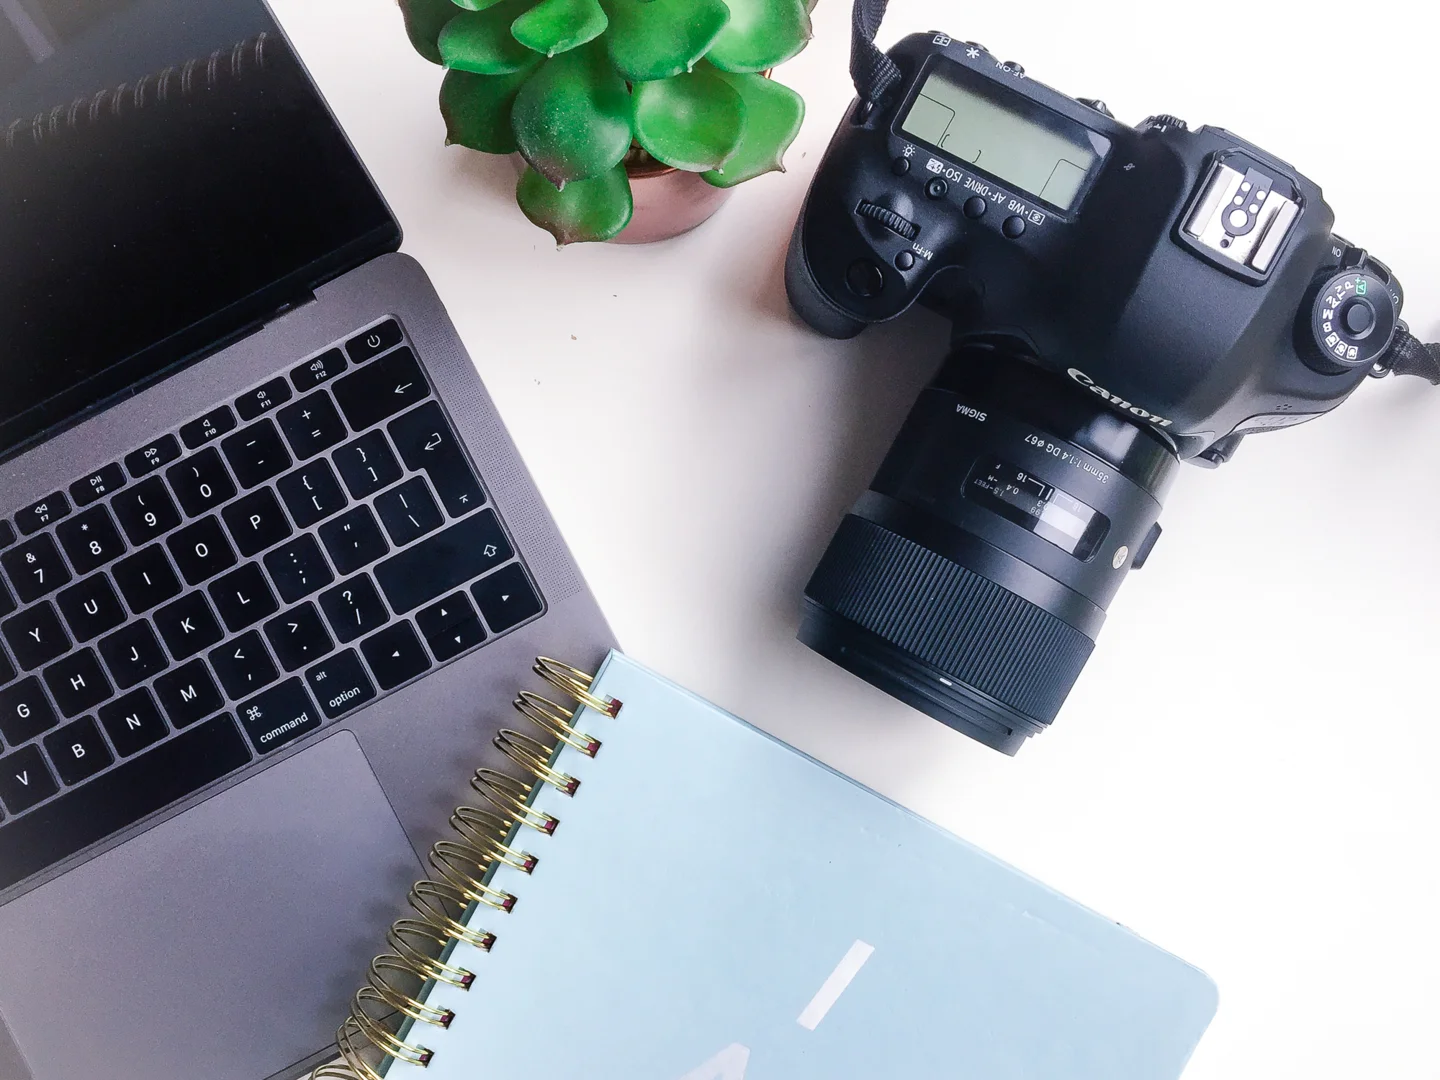
For those of you that might not know what I’m talking about, an expodisc is a handy little tool that makes it really easy to set a custom white balance, so you get the best and most accurate colour in your images.
(If you don’t already have an expodisc, you can grab one here!)
But assuming you do, watch the video below to see exactly how to do it, or if you prefer written instructions, keep on scrolling….
Grab your Manual Settings Cheat Sheet!
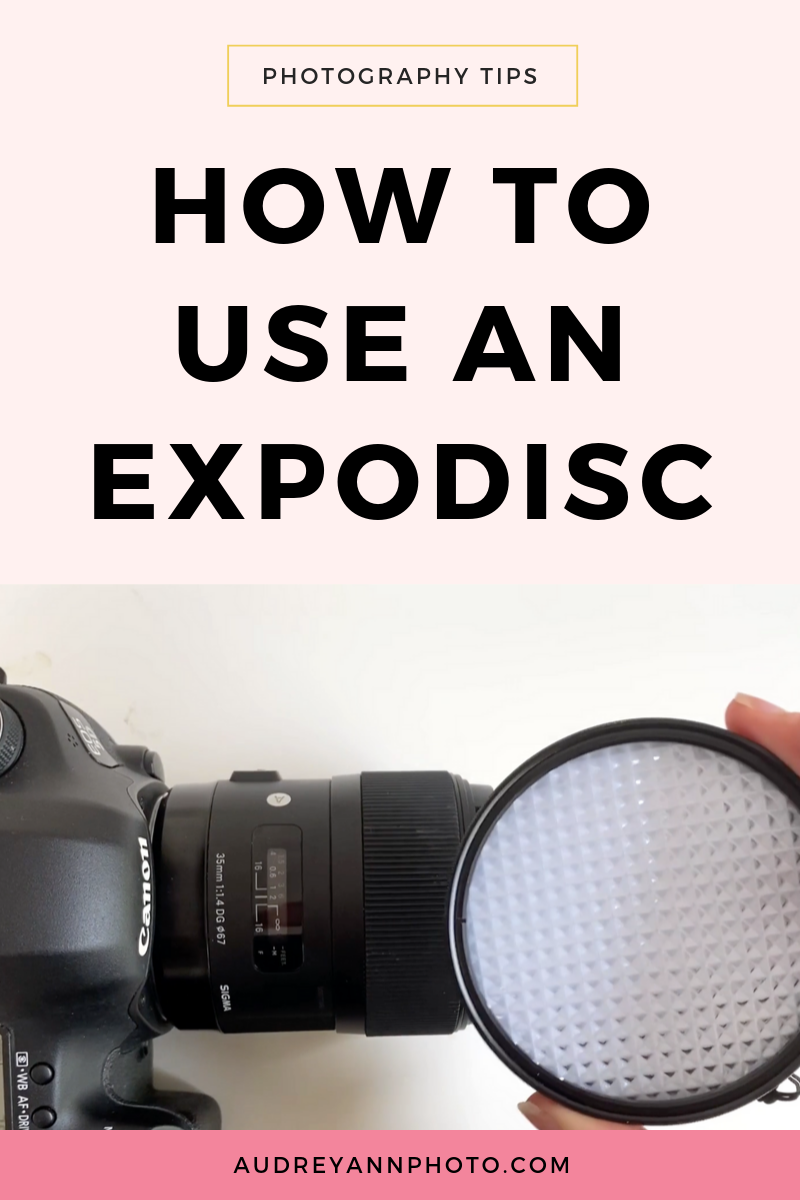
Step One: Place the expodisc in front of your lens
The very first step is just to place the expodisc in front of your lens. Now if you happen to have a lens that is the same thread size as your expodisc, that's great.You can just clip that on.
If not, all you need to do is place the expodisc in front of the lens. So it doesn't need to be clicked on in any way - as long as that Expodisc is covering the entire lens, you're good to go!

Step Two: Go to where your subject is
Still with your expodisc in front of your lens, go back to where your subject is, then point your camera back at the area where you're going to be taking the photo from. So you're standing where your subject is and you're going to be pointing the camera with the expodisc attached back at the location you will be taking the image from.
This lets the expodisc see the light that is actually falling on to your subject - that's why we don't want to be where we're taking the image from when we do this. t's really important that you're standing next to your subject when you do this!

Step Three: Set your aperture, shutter speed and ISO
Now what you want to do is set your aperture, your shutter speed, and your ISO in order to get the correct exposure. At this point you're just trying to get your ticker to zero so you're setting all three of those - ideally in manual mode - in order to get the correct exposure. Now if you're not sure which settings you should be using, that's absolutely fine as I have something for you! It's my free manual cheat sheet and that's going to give you some ideas about the aperture, shutter speed and ISO you should be using.
So you are in the location where your subject is and you have your Expodisc in front of your camera lens ,and you are setting exposure by making sure you have the right aperture, shutter speed and ISO, and you have that ticker to zero, in which case we're ready to move on to the next step.
Step Four: Snap a picture inside the expodisc
So what we have done up until now is set our exposure. So we've done one part, we've finished with our exposure, we can now move on to setting our white balance.
And for this we're actually going to stay in the same location. We're still back standing with our subject, pointing our camera with the expodisc in front of it, back to where we are going to be taking the image from. And all I want you to do at this point is to snap the shutter to take a picture. (Now if you find that your camera won't do that, just switch that little switch on the side of your lens from a F to MF and that will allow you to take an image) All you need to do is basically snap a picture of the inside of that expodisc.
Step Five: Set your white balance to custom
So now you're going to go into your camera settings, which will be different depending on whether you should Canon or Nikon, but just find your white balance menu and choose custom and you're going to select the image that you just took with the Expodisc So it's going to be a kind of solid gray or gray color (watch the video at the top of this page for a demo!)

You're going to use that and that is going to set your white balance. Now it is important that you have your exposure set first before you do your right balance. Both are linked. If you're not sure about those camera settings in manual mode, be sure to download the manual mode cheat sheet!
And you can now go back to your shooting position and you can take your photos knowing that you have your white balance perfectly set.
So that's it for me today. If you have any questions, leave a comment below!